How do i test a relay fuse?
Relays and fuses are two vital components in electronic devices and electrical systems. Relays are used to control the switching of circuits, while fuses are used to protect circuits from damage caused by overloads or short circuits. However, when a device malfunctions, how to quickly determine whether it is a relay or a fuse that is the problem has become a challenge for many users and repairers.

As a professional electronic components company, MobikeChip is committed to providing customers with high-quality electronic components and technical support. In this article, we will introduce you how to test relay fuses in detail to help you quickly locate the fault and solve the problem.
The role of relays and fuses and common failures
1. The role of relays and common failures
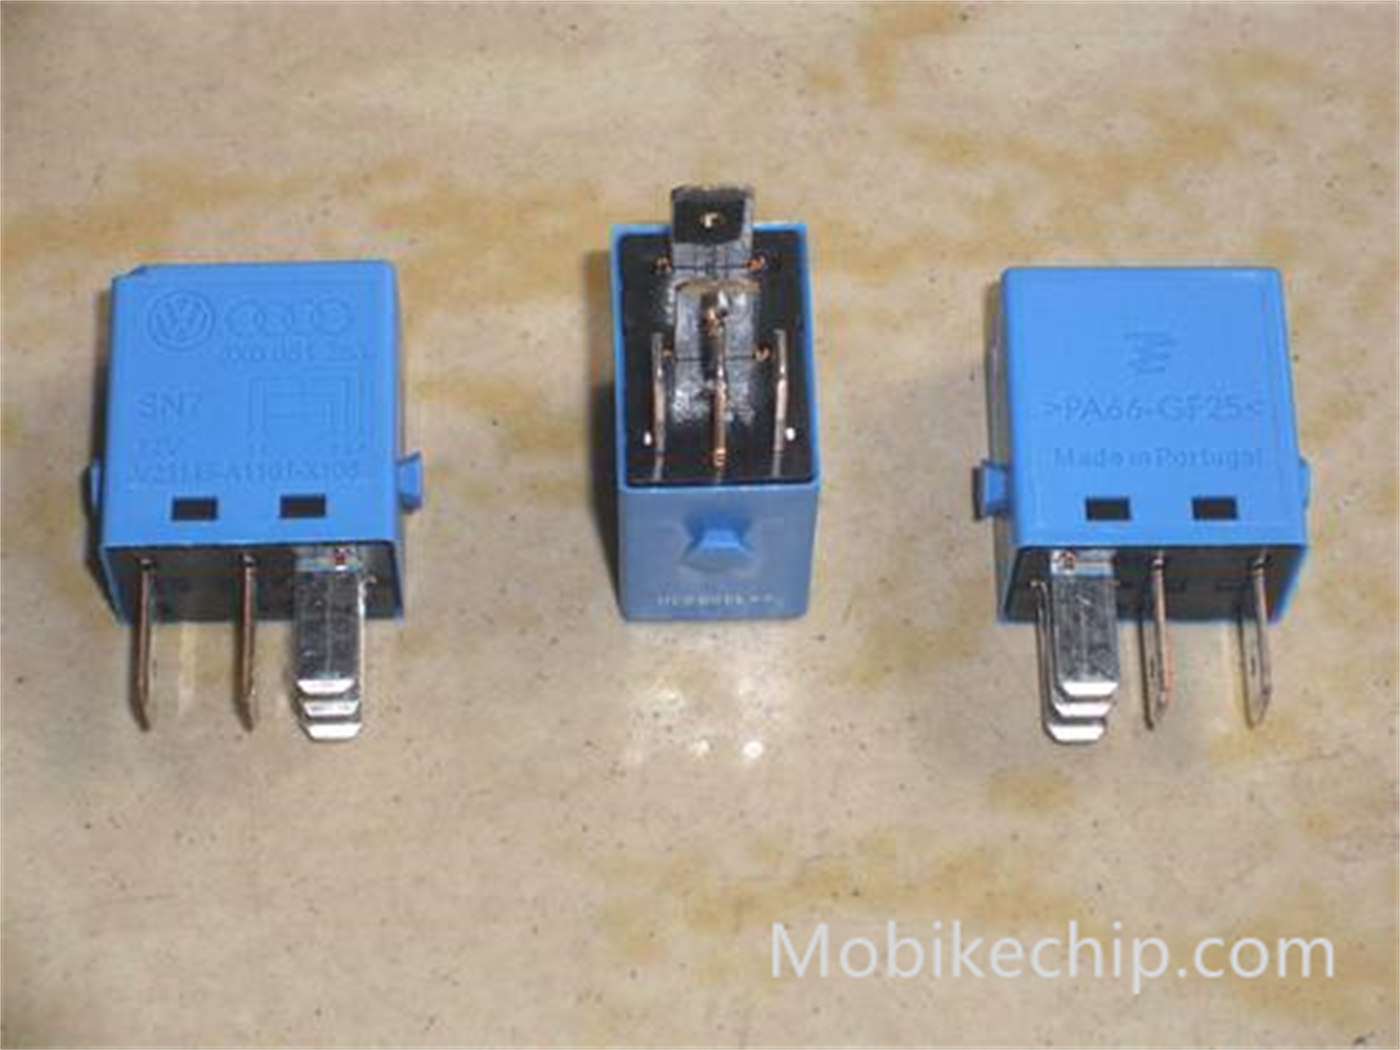
Relay is a kind of electromagnetic switch, through the small current control large current, widely used in automation control, household appliances, automotive electronics and other fields. Common faults include:
Coil failure: The coil is broken or short-circuited, resulting in the relay not being able to absorb.
Contact failure: contact oxidation, ablation or adhesion, resulting in the circuit can not be normal on and off.
2. The role of the fuse and common failures
A fuse is an overload protection element that protects equipment from damage by blowing to cut off the circuit when the current exceeds the rated value. Common failures include:
Blown: excessive current causes the fuse to blow.
Poor contact: poor contact between the fuse and the socket, resulting in the circuit can not be properly energized.
Preparation before testing
Before testing relay fuses, you need to prepare the following tools and materials:
Digital multimeter: used to measure the on-off of the fuse and the resistance of the relay.

Screwdriver: for disassembling the relay or fuse box.
Spare fuses: for replacing blown fuses.
Connecting wires and clips: for connecting circuits.
It is also important to know where the relays and fuses are mounted. Usually, the relays and fuses are centrally mounted in the control board or fuse box, and you can refer to the manual of the device for the exact location.
How to test the fuse
1. Visual Inspection
First, you can visually check whether the fuse is blown. If the wire inside the fuse is broken or blackened, the fuse is blown and needs to be replaced.
2. Testing with a multimeter
Set the multimeter to resistance measurement (usually Ω) and touch both ends of the fuse with the meter pen. If the resistance value is zero, the fuse is normal; if the resistance value is infinity, the fuse is blown.
3. Replace the fuse
If the fuse is blown, you need to replace it with a fuse of the same size. Before replacing, be sure to check the circuit for short-circuit or overload problems to avoid the fuse blowing again.
How to test the relay

1. Test coil resistance
Set the multimeter to resistance measurement and touch the coil pins (usually labeled 85 and 86) of the relay with the meter pen. Under normal circumstances, the coil resistance value should be between tens of ohms and hundreds of ohms. If the resistance value is infinity, it means the coil is broken; if the resistance value is zero, it means the coil is short-circuited.
2. Test contact on and off
Normally closed contacts (NC) test: set the multimeter to resistance measurement, use the pen to contact the “COM” and “NC” pins. When not energized, the resistance value of the normally closed contact should be close to zero; after energized, the resistance value should be infinity.
Normally open contact (NO) test: use the meter to contact “COM” and “NO” pin. When not energized, the resistance value of the normally open contact should be infinite; after energized, the resistance value should be close to zero.
If the test result is not consistent with the above, it means that the contacts may be oxidized or damaged, and the relay needs to be replaced.
3. Test relay absorption
Connect the 12V DC power supply to the coil pins (85 and 86) of the relay, and observe whether the relay is absorbed or not (hear the “click” sound). If the relay does not engage, the coil or mechanical parts may be damaged.
Precautions during testing
Safety first: Before testing relays and fuses, be sure to disconnect the power supply of the equipment to avoid electric shock or short circuit.
Correctly identify the pins: The pin definitions of different relay models may be different, be sure to refer to the manual or logo of the relay.
Avoid short circuits: During testing, make sure that the connecting wires are properly connected to avoid short-circuiting and damaging the relay or other equipment.
Regular maintenance: Check relays and fuses and their connecting wires regularly to ensure they are in good condition.
Conclusion
With the above steps, you can easily test the status of relays and fuses and quickly determine whether they are working properly. As key components in electronic devices and electrical systems, the performance of relays and fuses directly affects the normal operation of the equipment. Therefore, it is very necessary to check and maintain relays and fuses regularly.
MobikeChip always strives to provide customers with quality electronic components and solutions. If you encounter any problems when testing or using relays and fuses, please feel free to contact us and we will be happy to provide you with technical support and service!
Are solid state relays better?


Comments
Post a Comment